This is a tutorial about how to build RESTful APIs with Express.js and TypeScript.
🎉 Prepare Node env on macOS
If you don’t have a development environment for Node.js, I recommend installing nvm. If you are interested, please see my post nvm: Node Version Manager .
🐹 Install TypeScript
Before we get started, we should install TypeScript and TypeScript Node:
yarn global add typescript ts-node # npm install -g typescript ts-node |
🍮 Initiate a Project
Create a project folder and initiate the npm project.
# Create a folder and change directory to the folder |
🏀 Install Express
Install Express.js and dependencies.
yarn add @types/express express body-parser # npm install --save @types/express express body-parser |
🚕 Configure TypeScript
Create tsconfig.json file.
{ |
😸 Create source and dist folders
Create a folder to put TypeScript files. You will put your TypeScript files.
mkdir src |
🎂 Configure nodemon
Create nodemon.json file.
{ |
🐝 Edit script configuration in package.json
Edit package.json file to add script configuration.
"scripts": { |
🐰 Create base Express code
Create src/app.ts file.
import * as express from "express"; |
Additionally, generate src/server.ts.
import app from "./app"; |
So, for your development, you can run a dev server by the following command:
yarn dev |

😼 Create routing file
Create src/routes folder and add src/routes/MainRoutes.ts file.
import { Request, Response } from "express"; |
After then, you should create src/controllers and add src/controllers/MainController.ts file.
import * as express from "express"; |
After creating the route file, we need to import it to src/app.ts:
import * as express from "express"; |
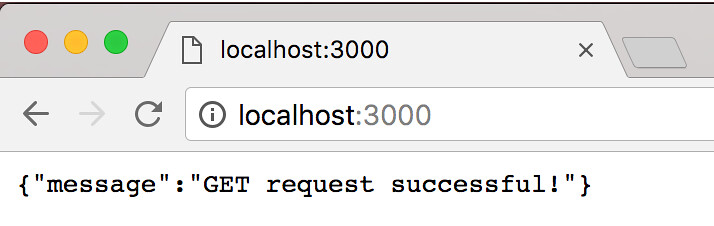
Now you can see the result in Browser (http://localhost:3000).
🐞 [Appendix] Dockerfile
This is Dockerfile for TypeScript & Express.js.
🐮 Development
FROM node |
🚌 [Appendix] Basic Authentication
basic-auth-connect supports basic authentication in Express v4 apps.
Please run the following command:
Installation
yarn add basic-auth-connect |
Configuration
Add following code:
import * as basicAuth from 'basic-auth-connect'; |
After then, if you provide BASIC_AUTH_USER and BASIC_AUTH_PASSWORD environment variable, you can use basic authentication in Express app.
🐡 References
- https://itnext.io/building-restful-web-apis-with-node-js-express-mongodb-and-typescript-part-1-2-195bdaf129cf\
- https://qiita.com/R-STYLE/items/6afd4aab417f973de961
🖥 Recommended VPS Service
VULTR provides high performance cloud compute environment for you.
Vultr has 15 data-centers strategically placed around the globe, you can use a VPS with 512 MB memory for just $ 2.5 / month ($ 0.004 / hour).
In addition, Vultr is up to 4 times faster than the competition, so please check it => Check Benchmark Results!!
